
Step 2: Cream the Butter and Sugars
In a large mixing bowl, combine softened butter, white sugar, and brown sugar. Use an electric mixer or whisk to cream the ingredients together until the mixture is smooth and fluffy. This step is important for achieving a light, airy texture in the cookies.
Step 3: Add Eggs and Vanilla Extract
Beat the eggs one at a time into the creamed butter and sugar mixture, ensuring each egg is fully incorporated before adding the next. Then, stir in the vanilla extract. This will infuse your cookies with a delightful aroma and flavor.
Step 4: Dissolve Baking Soda in Hot Water
In a small bowl, dissolve baking soda in hot water. This step helps activate the baking soda, making your cookies rise properly and get that perfect chewy texture.
Step 5: Combine Dry Ingredients
Add the baking soda-water mixture and salt into the batter, stirring well to combine. Then, gradually add the all-purpose flour in batches, mixing until fully incorporated. Be careful not to over-mix, as this can lead to dense cookies.
Step 6: Add Chocolate Chips and Walnuts
Stir in the semisweet chocolate chips and chopped walnuts (if using). Make sure the chocolate chips and nuts are evenly distributed throughout the dough.
Step 7: Drop Dough onto Baking Sheets
Scoop the dough into large spoonfuls or use a cookie scoop and drop the dough onto ungreased baking sheets. Leave enough space between each cookie to allow for spreading as they bake. If you prefer larger cookies, you can roll the dough into balls.
Step 8: Bake the Cookies
Place the baking sheet in the preheated oven and bake for about 10 minutes, or until the edges are golden brown. Keep an eye on the cookies towards the end of baking to ensure they don’t overcook. For a softer cookie, remove them a little earlier when they are just lightly golden on the edges.
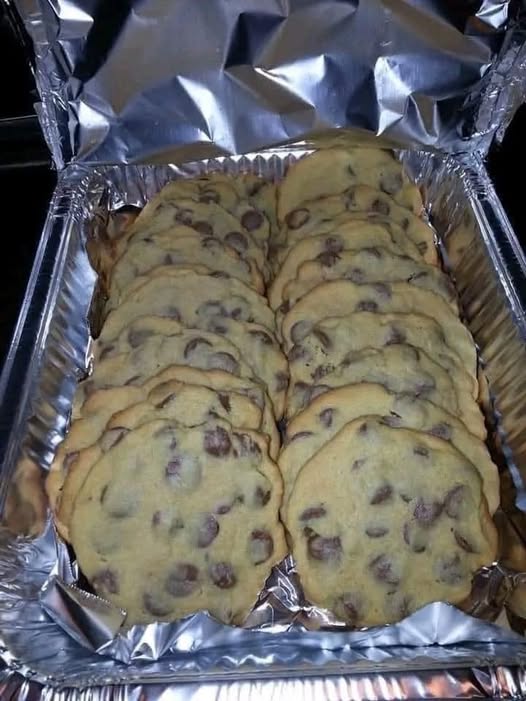
Step 9: Cool and Enjoy
Remove the cookies from the oven and let them cool on the baking sheet for a few minutes before transferring them to a wire rack. This helps the cookies firm up without breaking. Once cooled, you can enjoy your homemade chocolate chip cookies!
Step 2: Cream the Butter and Sugars
In a large mixing bowl, combine softened butter, white sugar, and brown sugar. Use an electric mixer or whisk to cream the ingredients together until the mixture is smooth and fluffy. This step is important for achieving a light, airy texture in the cookies.
Step 3: Add Eggs and Vanilla Extract
Beat the eggs one at a time into the creamed butter and sugar mixture, ensuring each egg is fully incorporated before adding the next. Then, stir in the vanilla extract. This will infuse your cookies with a delightful aroma and flavor.
Step 4: Dissolve Baking Soda in Hot Water
In a small bowl, dissolve baking soda in hot water. This step helps activate the baking soda, making your cookies rise properly and get that perfect chewy texture.
Step 5: Combine Dry Ingredients
Add the baking soda-water mixture and salt into the batter, stirring well to combine. Then, gradually add the all-purpose flour in batches, mixing until fully incorporated. Be careful not to over-mix, as this can lead to dense cookies.
Step 6: Add Chocolate Chips and Walnuts
Stir in the semisweet chocolate chips and chopped walnuts (if using). Make sure the chocolate chips and nuts are evenly distributed throughout the dough.
Step 7: Drop Dough onto Baking Sheets
Scoop the dough into large spoonfuls or use a cookie scoop and drop the dough onto ungreased baking sheets. Leave enough space between each cookie to allow for spreading as they bake. If you prefer larger cookies, you can roll the dough into balls.
Step 8: Bake the Cookies
Place the baking sheet in the preheated oven and bake for about 10 minutes, or until the edges are golden brown. Keep an eye on the cookies towards the end of baking to ensure they don’t overcook. For a softer cookie, remove them a little earlier when they are just lightly golden on the edges.
Step 9: Cool and Enjoy
Remove the cookies from the oven and let them cool on the baking sheet for a few minutes before transferring them to a wire rack. This helps the cookies firm up without breaking. Once cooled, you can enjoy your homemade chocolate chip cookies!
